Choose a die cast aluminum enclosure by its usable internal layout and installed footprint, then select the depth that accommodates the complete electronic assembly. A shallow enclosure may suit a compact board-based product, while a deeper version can provide room for taller components, internal plates, and wiring.
The enclosure’s length and width are only part of the decision. Two products with similar face dimensions can create very different assembly and installation options when their depths differ.
This guide compares shallow and deep die cast aluminum enclosures and explains how to evaluate the body, cover, internal space, finish, and customization options as one product.
A die cast aluminum enclosure uses a cast metal body to contain the electronic assembly. Depending on the model, it can incorporate shaped internal features, mounting locations, a separate cover, and a sealing arrangement.
For a buyer or electronics engineer, the important question is how the specific enclosure is constructed. Review the cover opening, interior shape, usable mounting area, and installation features rather than choosing from the material name alone.
Evernice’s die cast aluminum enclosure range includes rectangular products in different catalog sizes and depths. These provide starting points for comparing an enclosure with the product you intend to build.
A standard enclosure can also be reviewed for customized openings and markings. Confirm the selected model’s configuration before finalizing the electronics layout.
A shallow enclosure can be worth considering when the assembly has a low vertical profile and the finished device should project less from its mounting surface.
It may suit a single-board design with modest component height and a straightforward internal layout. However, the clear internal height still needs to be checked against the actual drawing.
A deeper enclosure can be useful when the product contains taller components, an internal mounting plate, or more space for connected wiring. It may also provide layout options that are not practical within a shallower body.
Depth should follow those requirements. Choosing the deepest model by default can make the device bulkier without resolving an inadequate mounting area or restricted opening.
Compare the complete product in both its assembled and installed conditions. Include the cover, mounting arrangement, and any external projections that affect the required space.
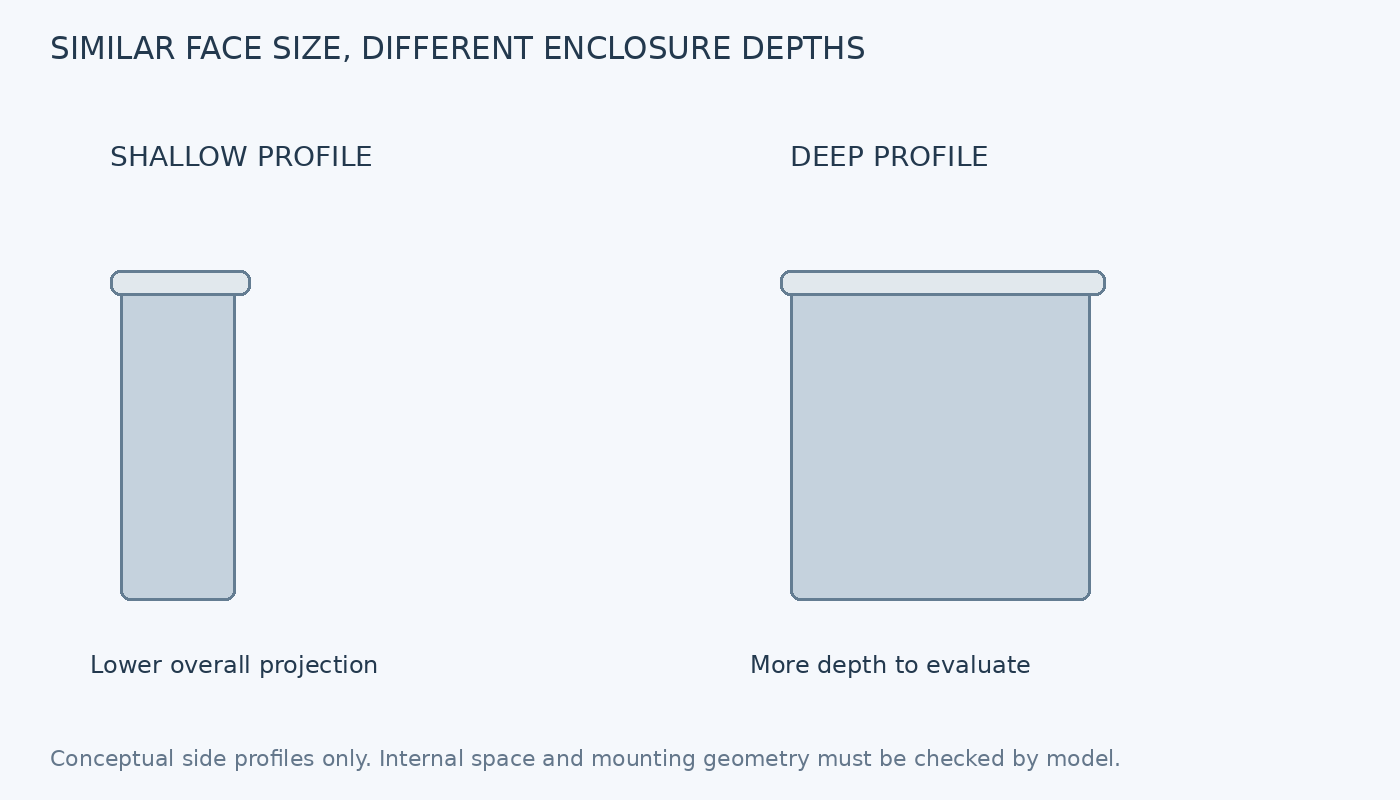
Catalog dimensions help identify candidate products. They should not be treated as the dimensions of a rectangular empty cavity.
The cover, walls, rim, internal features, and mounting arrangement affect usable space. Even when a component fits within the listed length and width, it may conflict with the enclosure opening or cover details.
Evernice’s catalog currently lists the following size descriptions within its die cast aluminum enclosure range:
| Catalog size description | Depth value in the listing | Product-selection question |
|---|---|---|
| 340 × 235 × 95 mm | 95 mm | Does the assembly fit within the shallower configuration? |
| 340 × 235 × 120 mm | 120 mm | Does the additional depth resolve the identified height requirement? |
| 340 × 235 × 135 mm | 135 mm | Is there enough usable space for the proposed internal arrangement? |
| 340 × 235 × 160 mm | 160 mm | Is the larger overall profile appropriate to the installation? |
These are catalog listing dimensions, not verified internal dimensions. Confirm dimension order, current availability, and the drawing for the chosen model before using them in a design.
The 340 × 235 × 95 mm product listing and 340 × 235 × 135 mm product listing are useful starting points for a drawing-based comparison.
The enclosure is an assembly of parts, not just a base cavity.
Check how the cover sits on the body and how it is removed. A removable cover may provide convenient access to the interior, but the equipment’s installation must allow that removal motion.
Review the clear opening separately from the area near the base. Internal walls or features can limit the route used to place an assembly inside.
Also check whether part of the available height lies in the cover. Space above the body rim may be useful for a component, but it does not necessarily increase the area available for mounting equipment to the base.
If the cover will carry a display, marking panel, or other interface, review the inner side as well as the visible outside surface.
Choose the enclosure using the closed assembly drawing. A photograph of the open body does not establish the space available after the cover is fitted.
The mounting area and depth solve different layout problems.
A deeper body may accommodate taller equipment while keeping a similar face size. It does not automatically provide a larger flat area for the PCB or mounting plate.
Request the internal drawing and identify the usable mounting region for the exact model. Confirm which supports or plate options are available rather than assuming that every size has identical features.
For a board-based product, compare the intended board outline with the actual mounting area. For an assembly built on a plate, include the plate’s mounting position and the space occupied by the mounted equipment.
The enclosure opening must also allow the intended assembly to be inserted and serviced.
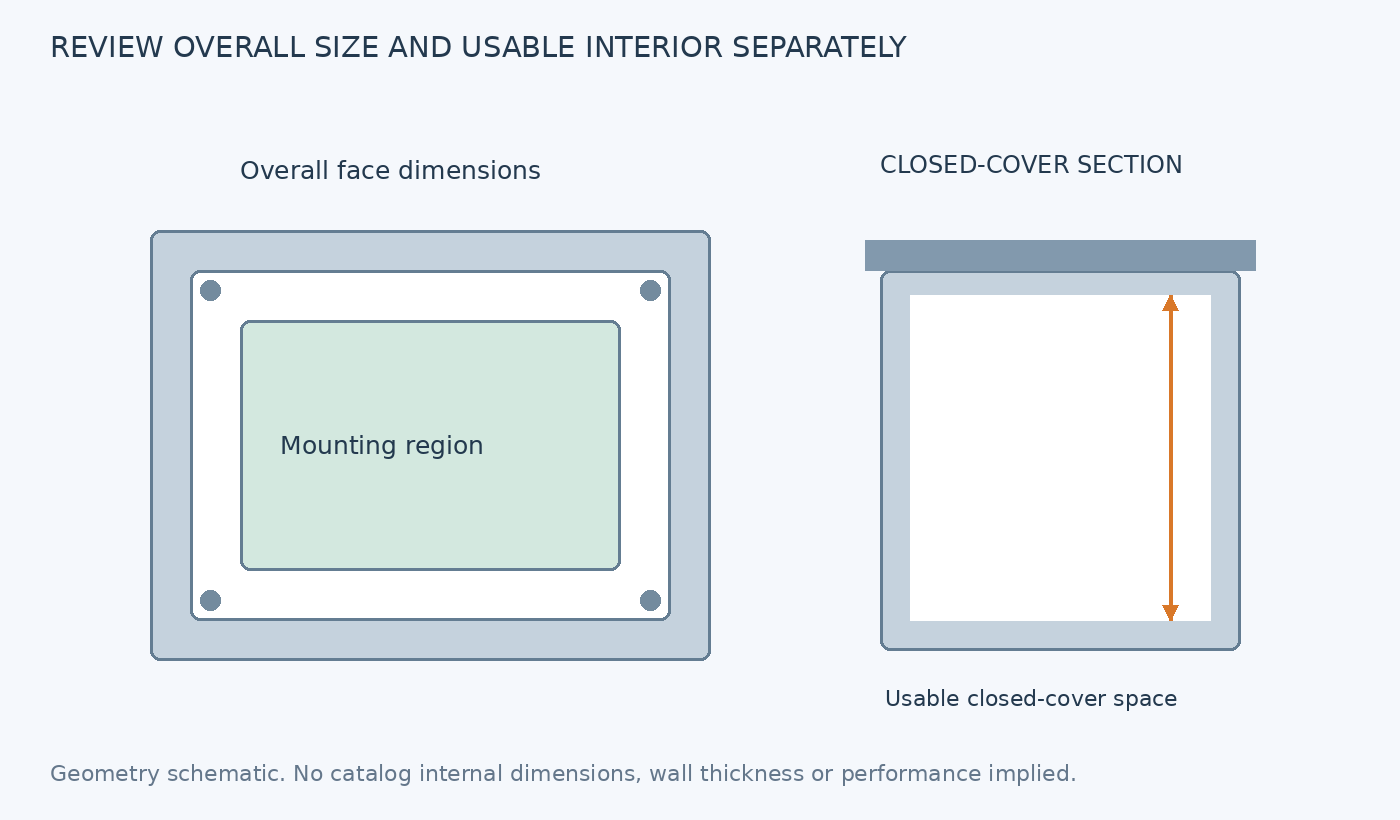
Figure 2. Overall size, mounting area, and usable closed-cover space are separate product-selection checks. No internal catalog dimensions are implied.
A product that fits on a workbench may occupy more installation space than expected.
For wall or panel mounting, compare the enclosure’s overall projection with nearby equipment and the intended access area. Include any mounting features supplied or specified for the chosen model.
Review the direction in which the cover is removed and where it can be handled during service. A deeper enclosure may create a different access arrangement even when the mounting footprint appears unchanged.
If the enclosure is installed inside another cabinet, include the cabinet door and neighboring equipment in the layout review.
Also consider product orientation. Labels, displays, and proposed openings should make sense in the actual mounted position.
These checks help select an enclosure whose size suits the finished device, not merely the internal component arrangement.
The exterior contributes to the equipment’s identity and how it will be used.
Evernice’s linked die cast enclosure listings describe gray products. Confirm the available finish and color for the selected model, including any requested customization.
For a front-facing enclosure, consider the usable cover area for identification, a label, or printed instructions. Keep the final orientation in mind so information remains readable after installation.
If the design includes cutouts or machined features, discuss the order of machining and finishing with the manufacturer. Ask what the completed edges and visible surfaces will look like.
Use an approved sample or agreed finish reference where appearance is important. A screen photograph alone may not adequately define the final color and texture.
Select the enclosure for the actual environment and equipment requirements.
Define whether the application is indoors, sheltered, or exposed to outdoor conditions. Identify relevant moisture, dust, temperature, and surface-exposure conditions.
Ask for documentation covering the specific enclosure and configuration you intend to purchase. A claim associated with one catalog product should not be assumed to apply to all sizes or modified versions.
If the enclosure requires new openings, a different cover arrangement, or another change affecting its protective boundary, review the finished configuration.
Similarly, a metal body alone does not establish the equipment’s thermal, electrical, or environmental performance. Those requirements should be checked for the completed product.
Keep the model reference and agreed configuration with the project documentation so the selected enclosure can be identified consistently.
A standard die cast aluminum enclosure can provide a practical mechanical starting point for a customized electronic product.
The linked Evernice product descriptions list cutouts, laser engraving, stickers, and screen-printed logos as customization options. Confirm which processes are suitable for the selected size and finish.
Place proposed openings and markings on the enclosure drawing. Review their relationship to the rim, cover interface, internal features, and mounting arrangement.
If the product needs several variations, discuss whether one enclosure size can serve them without compromising the layout. A shared exterior can be useful, but each internal configuration still needs its own fit review.
For customized products, request a sample that represents the intended machining, finish, and marking before approving production.
| Product feature | What to compare |
|---|---|
| Catalog dimensions | Correct dimension order and selected model reference |
| Body depth | Complete assembly height and finished device profile |
| Interior | Usable mounting area, internal features, and clear opening |
| Cover | Closed-cover space, removal direction, and usable face area |
| Mounting | Installation method, external projection, and service access |
| Finish | Available color, texture, marking area, and sample reference |
| Protection | Documentation for the exact model and final configuration |
| Customization | Supported openings, markings, and manufacturing review |
Evernice manufactures electronic enclosures, including die cast aluminum, extruded aluminum, and plastic enclosure products.
Explore our die cast aluminum enclosure range to compare available catalog sizes. For product changes, see our customization services.
Contact Evernice with your assembly dimensions, mounting requirements, and preferred product profile. We can discuss suitable enclosure options and the drawings needed to review your project.


